
Every transaction deserves a paper trail. Whether you’re a freelancer billing a client, a landlord collecting rent, or a small business owner tracking daily sales, issuing a clean, professional receipt builds trust, simplifies bookkeeping, and protects you during tax season.
The good news? You don’t need expensive accounting software or design experience to create polished receipts. With Google Docs, you can build, customize, and distribute professional transaction documentation in minutes—completely free.
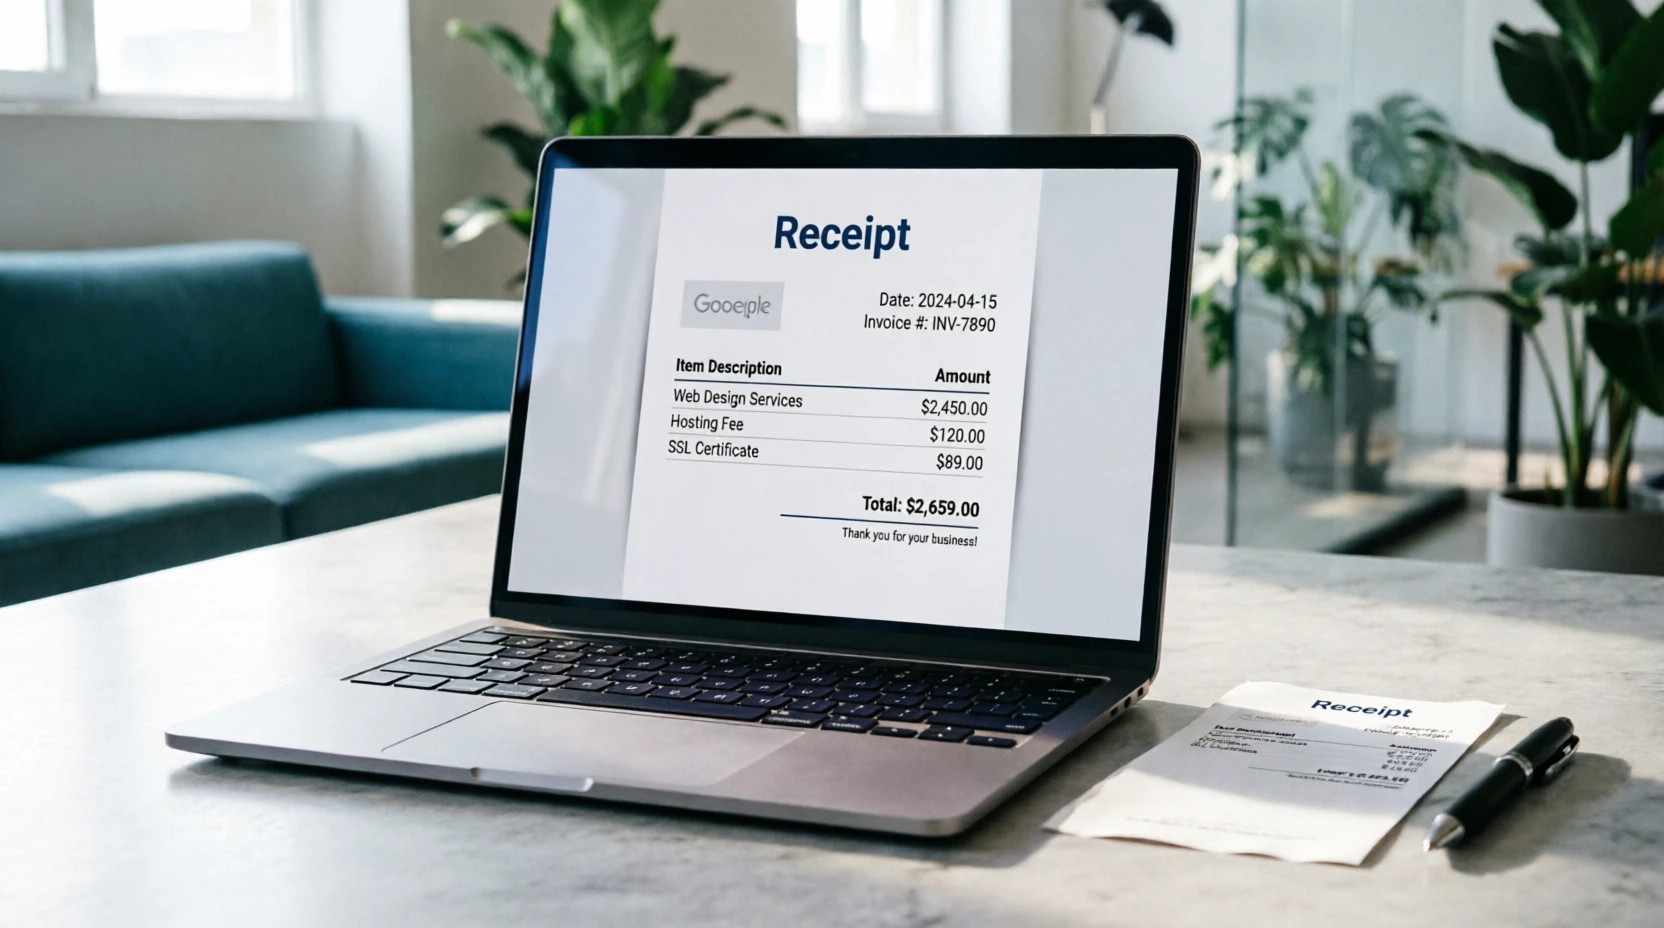
In this guide, you’ll learn exactly how to create professional receipts in Google Docs, from formatting best practices and compliance essentials to time-saving templates and automation upgrades.
Why Google Docs is Perfect for Receipt Creation
Before diving into the steps, let’s cover why thousands of professionals choose Google Docs for receipt generation:
- Zero Cost & No Software Installs: Works instantly with any free Google account
- Cloud-Based & Accessible: Create, edit, and retrieve receipts from any device
- Real-Time Collaboration: Share draft receipts with accountants or team members
- Easy Export Options: Save as PDF, print directly, or email without formatting loss
- Brand Customization: Add logos, colors, and custom fonts to match your business identity
When paired with a well-structured template, Google Docs becomes a powerful, lightweight receipt system that scales with your workflow.
Step-by-Step: How to Create a Professional Receipt in Google Docs
Step 1: Start with a Proven Template (Don’t Build From Scratch)
While you can create a receipt from a blank document, starting with a professionally designed layout saves hours of formatting work and ensures you don’t miss critical compliance fields.
👉 Browse our library of professional Google Docs receipt templates to find rent, cash, sales, payment, and donation formats pre-built with proper spacing, tables, and legal placeholders.
How to use a template:
- Click the template link
- Select
File > Make a copyto save it to your Google Drive - Rename it for your business (e.g.,
ABC_Consulting_Receipt_v1)
Starting with a structured template guarantees consistency across every receipt you issue.
Step 2: Add Your Business Information & Branding
A professional receipt reflects your brand and establishes credibility. Replace placeholder text with:
- Company name & legal business structure (LLC, Inc., Sole Proprietor, etc.)
- Physical address & contact email/phone
- Tax ID / EIN (if applicable)
- Website or booking portal URL
- Company logo (insert via
Insert > Image)
Pro Tip: Keep your header clean. Align your logo to the left or center, use a legible sans-serif font (like Inter, Roboto, or Open Sans), and limit colors to 1–2 brand shades.
Step 3: Structure the Transaction Details
A legally sound and accountant-friendly receipt must include specific data points. Format these using a simple table for clean alignment:
| Field | Why It Matters |
|---|---|
| Receipt Number | Enables tracking, prevents duplicates, required for audits |
| Date of Payment | Establishes fiscal period for tax reporting |
| Customer/Client Name | Proof of transaction ownership |
| Itemized Services/Products | Clarifies what was purchased |
| Subtotal, Tax, Fees, Total | Transparent pricing breakdown |
| Payment Method | Cash, card, check, PayPal, bank transfer, etc. |
| Authorized Signature | Validates the document for legal/tax purposes |
Use Google Docs tables (Insert > Table > 2x7) to keep fields aligned. Hide borders if you prefer a minimalist look (Table > Table properties > 0pt border).
Step 4: Format for Readability & Professionalism
Design doesn’t mean flashy—it means clear. Follow these formatting rules:
- Use 11pt or 12pt font size for body text
- Bold labels, leave values in regular weight
- Right-align all monetary values for quick scanning
- Add light gray shading to table headers (
Table > Table properties > Cell background color) - Include a short thank-you note or return policy at the bottom
- Leave adequate white space; avoid cluttered layouts
A clean receipt reduces customer confusion and makes year-end accounting effortless.
Step 5: Export, Distribute & Archive Correctly
Never send a receipt as an editable .gdoc file. Always export to a static format:
File > Download > PDF Document (.pdf)- Name files consistently:
YYYY-MM-DD_ReceiptNumber_ClientName.pdf - Email directly or upload to cloud storage (Drive, Dropbox, accounting software)
- Maintain a master folder:
Receipts/2024/Q4/
Bonus: Use Google Drive’s search functionality to instantly locate past receipts by client name, date, or keyword.
5 Pro Tips for Receipt Compliance & Efficiency
- Use Sequential Numbering: Start at
REC-0001and increment manually or with a simple numbering system. Gaps trigger audit flags. - Match Receipts to Invoices: If you issued an invoice, reference it on the receipt (
Payment for Invoice #INV-2024-089). - Keep a Backup Schedule: Export monthly receipt folders to a secondary drive or accounting platform.
- State-Specific Rules: Some regions require tax breakdowns, business license numbers, or bilingual receipts. Verify local requirements.
- Lock Final Versions: Once sent, convert to PDF or mark the Doc as
View Onlyto prevent accidental edits.
When to Upgrade from Manual Docs to Automated Receipt Generation
Google Docs excels for low-volume, customized receipts. But if you’re processing 50+ transactions weekly, managing templates becomes time-intensive and error-prone.
That’s where automation shines. With an automated receipt generator tool, you can:
- Auto-assign sequential receipt numbers
- Pull client data from CRM or spreadsheets
- Generate branded PDF receipts in one click
- Sync with accounting software (QuickBooks, Xero, FreshBooks)
- Track payment status without manual data entry
👉 Try Receipt Generator Pro to create polished, compliant receipts in under 30 seconds—no design or formatting required.
FAQs
Can I add my company logo to a Google Docs receipt?
Absolutely. Go to Insert > Image > Upload from computer, place it in the header, and resize to ~150px width for optimal formatting. Ensure it doesn’t distort when exported to PDF.
How do I automatically number receipts in Google Docs?
Google Docs doesn’t natively auto-number documents. Use a manual sequential system (e.g., REC-001, REC-002) or maintain a tracking spreadsheet. For true automation, consider a dedicated receipt generator that assigns numbers and logs entries automatically.
Should I send receipts as Google Docs or PDFs?
Always send receipts as PDFs. PDFs lock formatting, prevent accidental edits, and are universally accepted by accounting software, tax authorities, and clients.
Do I need to collect signatures on digital receipts?
For most business transactions, a digital receipt with your business details and transaction breakdown is sufficient. High-value contracts, real estate, or B2B services may require e-signatures (DocuSign, HelloSign) for added legal protection.