
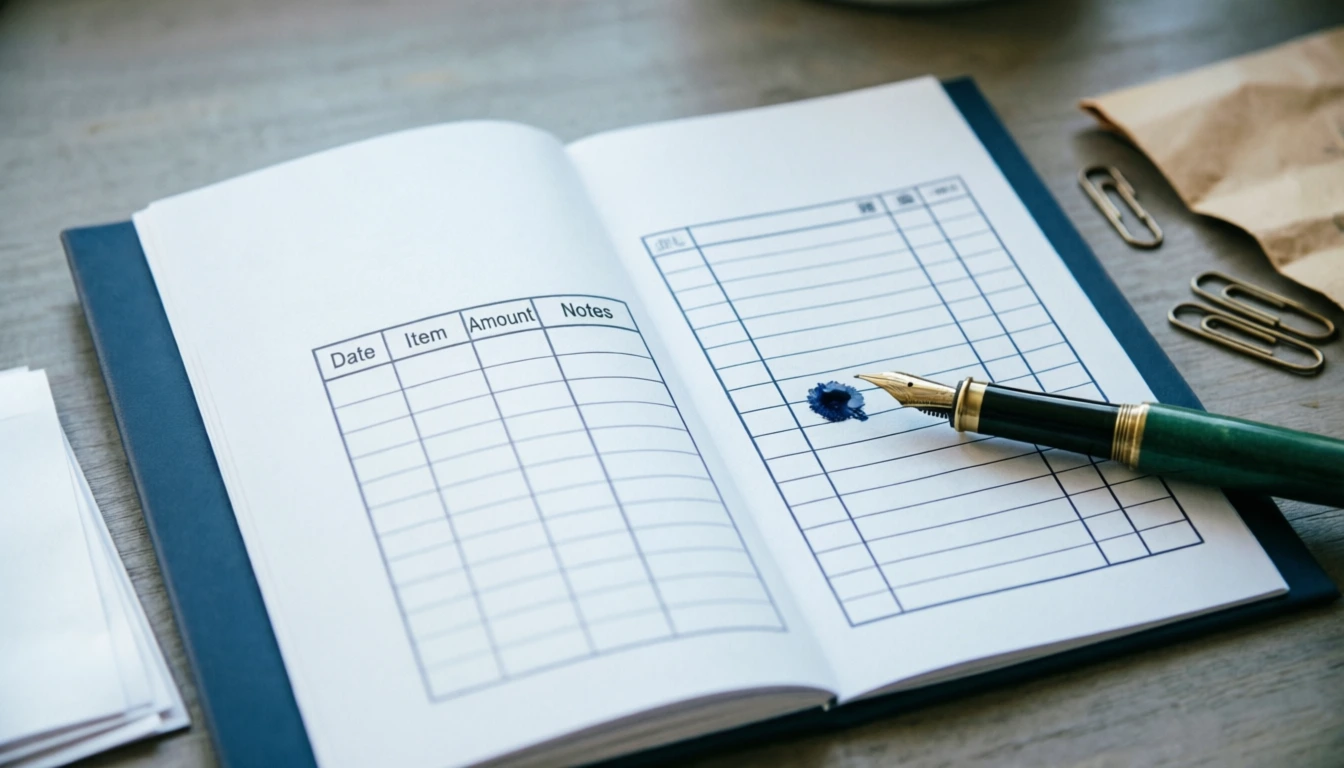
To make a receipt book, you need to include your business name, date, receipt number, customer name, items/services provided, and total amount. For a true DIY approach, design a template in Canva or Word, print it on cardstock, and bind it with a coil binder. However, for professional business use, ordering custom carbonless (NCR) duplicate receipt books from a print shop is the most reliable, time-saving, and legally sound method.
If you’re wondering how to make a receipt book without spending a fortune, you’re in the right place.
Below is a straightforward, step-by-step guide to creating a receipt book that looks professional, meets basic legal standards, and actually holds up to daily use.
Step 1: Know What Must Be on a Valid Receipt
Before you design or print anything, you need to know what makes a receipt legally and practically valid. A generic piece of paper won’t cut it for your accountant or a disputing customer.
Every receipt in your book should have dedicated spaces for:
- Your Business Information: Business name, address, phone number, and email/website.
- Receipt Number: Crucial. Every receipt must be sequentially numbered (e.g., #0001, #0002) for easy auditing and to prevent fraud.
- Date of Transaction: Day, month, and year.
- Customer Information: Name and contact details (optional for small retail, but highly recommended for services or rentals).
- Description of Goods/Services: A clear line-item breakdown of what was purchased.
- Payment Details: Amount paid, payment method (Cash, Card, Check), and any remaining balance.
- Signature Line: For both the issuer and the receiver to acknowledge the transaction.
Step 2: Choose Your Creation Method
Not all receipt books are created equal. Your best approach depends on your budget, volume, and need for duplicate copies. Here are the three realistic paths:
Method A: The “True DIY” Print-at-Home Book
You design it, print it, and bind it yourself.
- Pros: Almost free, total creative control.
- Cons: Time-consuming, standard printers cannot print carbonless duplicates, standard paper tears easily.
Method B: The Canva/Word Template Route
You use a pre-made, professionally designed template, print it on heavier paper, and get it bound at a local print shop.
- Pros: Looks highly professional, cheap, easy to customize.
- Cons: Still requires a trip to the printer for proper binding; no automatic carbon copies.
Method C: Custom Carbonless (NCR) Printing
You design the layout and have a professional printer create a pad of No Carbon Required (NCR) paper. When you write on the top sheet, it automatically copies to the sheet beneath it.
- Pros: Industry standard, provides an instant customer copy and a business copy, highly durable, pre-numbered.
- Cons: Costs slightly more upfront (usually $15–$40 per pad).
Pro Tip: If you are running a legitimate business, Method C is highly recommended. The time you save and the professionalism you project will easily outweigh the minor cost.
Step 3: How to Design Your Receipt Template
If you are going the DIY or template route, you need a solid design. You don’t need to be a graphic designer to do this.
Using Canva
- Go to Canva.com and search for “Receipt Template” or “Invoice Template.”
- Choose a clean, minimalist design. Avoid overly colorful backgrounds; they waste ink and look unprofessional.
- Customize the fields to match the 7 mandatory elements listed in Step 1.
- Add a subtle border or your logo to elevate the look.
- Download the file as a PDF Print (this ensures crisp lines and text).
Using Microsoft Word or Google Docs
- Open a new document and set the page orientation to Landscape (this mimics the traditional wide receipt book format).
- Insert a Table (e.g., 4 columns, 10 rows).
- Use the top rows for your business info and receipt number/date.
- Use the middle rows for “Description,” “Quantity,” and “Price.”
- Use the bottom rows for “Total,” “Payment Method,” and “Signatures.”
- Save as a PDF before printing to prevent formatting shifts.
Step 4: Printing and Binding Your DIY Receipt Book
If you are committed to making this at home, standard copy paper will tear when customers put it in their wallets. Here is how to do it right:
- Upgrade Your Paper: Buy 67 lb or 80 lb cardstock or bright white resume paper. It feels substantial and professional.
- Print a Test Page: Always print one copy first to check margins and ensure your printer isn’t smudging the ink.
- Cut to Size: Standard receipt books are usually 5.5″ x 8.5″ (half a standard letter page) or 8.5″ x 11″. Use a paper guillotine or a sharp craft knife and a metal ruler for clean, straight edges. Scissors will look jagged and amateurish.
- Binding:
- The Staple Method: Stack 25–50 pages. Use a heavy-duty stapler to place two staples along the left edge. Fold a piece of sturdy tape over the staples on the back to prevent snagging.
- The Coil Method (Better): Take your stack to a local office supply store (like FedEx Office or Staples). For a few dollars, they can punch the holes and insert a plastic coil binding. This allows the book to lay flat when you are writing in it, which is a massive quality-of-life upgrade.
Best Practices for Using Your Receipt Book
Creating the book is only half the battle. Using it correctly protects your business.
- Never tear out a receipt incorrectly: If you make a mistake while handwriting a receipt, do not rip it out and throw it away. Write “VOID” in large letters across all copies and keep it in the book. This maintains your sequential numbering for your accountant.
- Keep the duplicate safe: If you use an NCR pad, store the business copy in a fireproof lockbox or scan it immediately into a cloud accounting app (like QuickBooks or Wave).
- Be legible: If you are handwriting receipts, use a black or blue ballpoint pen. Gel pens can smudge on carbonless paper, and pencils can be erased (raising red flags during an audit).
Frequently Asked Questions
How can I create my own receipt?
To create your own digital receipt, start by choosing a design tool like Microsoft Word, Google Docs, or Canva. Set up a clean, simple layout and include the essential fields. Once designed, save the file as a PDF to ensure the formatting stays intact when you print it or email it to a client.
How to prepare a receipt book?
First, print your receipt design on high-quality paper or order custom carbonless (NCR) paper if you need duplicate copies. Next, use a paper cutter to trim the sheets to a standard receipt size, such as 5.5″ x 8.5″. Finally, stack 25 to 50 sheets together and bind them. You can bind them at home using a heavy-duty stapler on the left edge, or take them to a local print shop to have them professionally glued at the top or bound with a plastic coil.
How to write a homemade receipt?
Start by using a black or blue ballpoint pen (avoid gel pens that can smudge on carbonless paper, and never use a pencil). Fill in the date and the sequential receipt number at the top. Write the customer’s name clearly. In the itemized section, write a brief but specific description of the goods or services provided, along with the individual cost for each. Double-check your math, write the final total clearly, note the payment method (Cash, Card, etc.), and have both you and the customer sign the receipt.
How to make a handwritten receipt?
If you don’t have a pre-printed receipt book and need to make a handwritten receipt entirely from scratch, grab a clean, unlined piece of paper or cardstock. At the very top, write “RECEIPT” in large letters, followed by your business name, address, and phone number. Below that, write today’s date and assign a simple receipt number Draw a horizontal line to separate the header from the body. Create two columns: label the left “Description” and the right “Amount.” List your items and prices in these columns. Draw a final line at the bottom, write the “Total” clearly, and add a line for your signature. While not as professional as a printed book, this method is legally valid as long as all transaction details are present.
Final Thoughts
Making a receipt book doesn’t have to be complicated. If you’re just starting out and testing the waters, a well-designed Canva template printed on cardstock and neatly bound will serve you well. But as your business grows, investing $20–$30 in a custom, sequentially numbered, carbonless receipt pad is one of the highest-ROI purchases you can make. It saves you time, keeps your accounting airtight, and shows your customers that you mean business.
Get Your Custom, Editable Receipt Book in 24 Hours
Want a professional receipt book without the design headache? Let Receipt Generator Pro handle it for you. We provide fully editable, ready-to-use receipt book templates in both Microsoft Word and Google Docs formats. Simply reach out via our Contact Page or send us an email, and we’ll have your custom template in your inbox within 24 hours.